You know, smoothening the skin of a subject in your photo is a daunting task. Really, even if I will become an expert, if there is a shorter way to do it, then I am all for it. Photoshop actions are a great way to do just that. The best smoothening skin Photoshop action that I like is by Jean’s at unleashedART.com.

Once you run the action script, all you need to do is use the history brush and brush the skin parts of the subject. It is quite effective especially in armpit areas and oily skin. It can easily remove pimples and blemishes. See the sample image that Jean provided for her action script.
This is a pretty famous technique for photographers that many are applying to their post processing needs. It is a pretty useful technique to focus on the sharpness especially on a subject’s skin. I found this set of instructions from a photographer’s forum posted by member talan.

You can save it as an action set.

  1. Edit and make adjustments to you image as you wish.
  2. Save your PSD file if you want to keep your layers and orginal full size for re-editing later.
  3. Resize image to your web size if you choose to.
  4. Layers > Flatten image.
  5. Duplicate background layer.
  6. Make sure the copy of background layer is selected.
  7. Filter > Sharpen > Unsharp Mask - enter Amount 18, Radius 40, Threshold 0 - press OK.
  8. Filter > Sharpen > Unsharp Mask - enter Amount 150, Radius 0.3, Threshold 0 - press OK.
  9. Edit > Fade Unsharp Mask - enter Opacity 100% and select Darken in the Mode dropdown list - press OK
  10. Filter > Sharpen > Unsharp Mask - enter Amount 150, Radius 0.3, Threshold 0 - press OK.
  11. Edit > Fade Unsharp Mask - enter Opacity 50% and select Lighten in the Mode dropdown list - press OK.
  12. Layers > Flatten image.
  13. Save as .jpg
  14. Done!!!

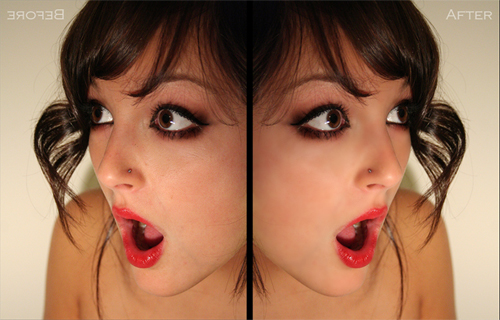
Below is a before and after. The post processed photo did have some other adjustments made other than the technique, but you will understand once you try it out yourself.

Related Posts Plugin for WordPress, Blogger...